Setup the Connection
Section titled “Setup the Connection”The Mix It Up Bot integration allows you to interact with Meld Studio to control scenes and sources.
- Open Mix It Up Bot while running Meld Studio.
- Click on the menu icon (☰) in the top-left corner.
- Select Services from the dropdown list.
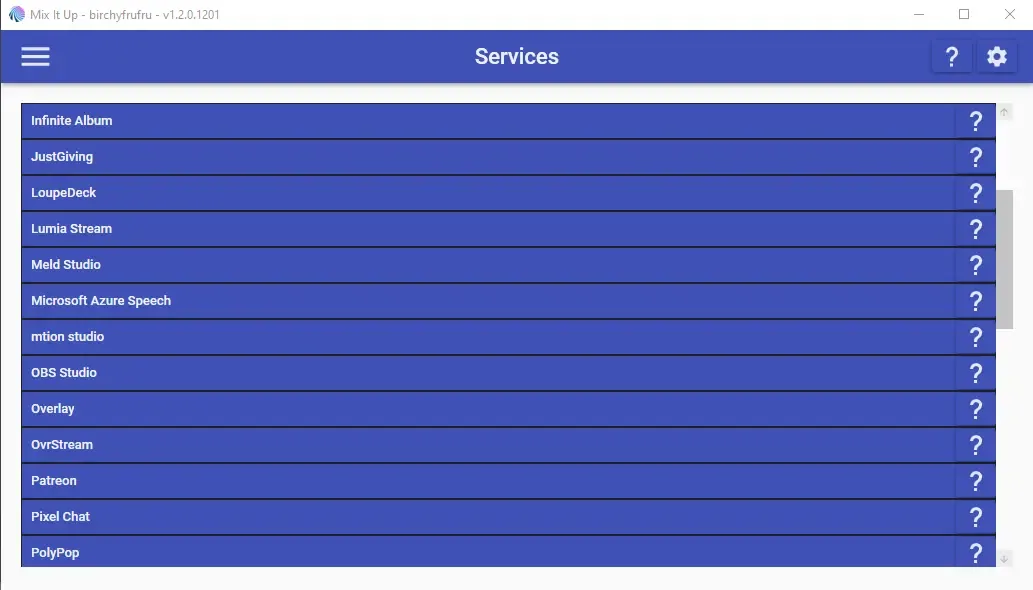
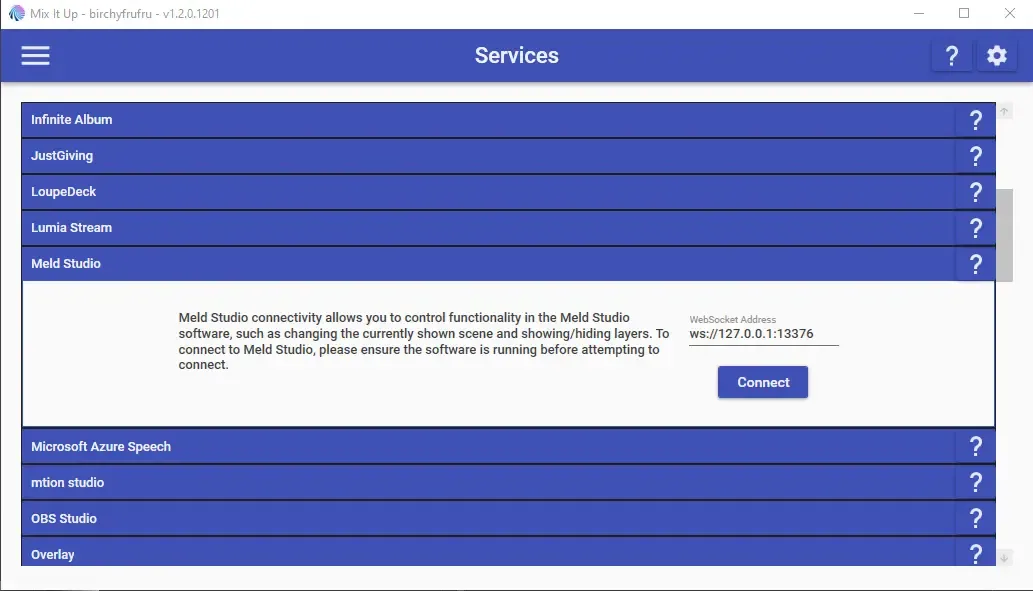
- Select Meld Studio.
- Click Connect.
Commands
Section titled “Commands”Commands allow you to create sequences of actions that execute together. To get started:
- Select Commands from the dropdown list and create a Custom Command.
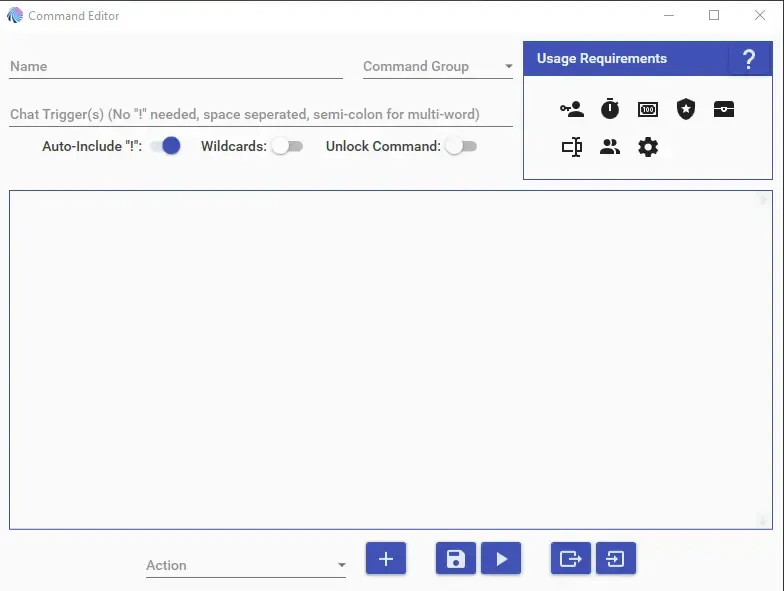
- Select New Command.
- In the popout window, select Meld Studio.
- In the Action dropdown, click on the ╋ button to add a new command.
Chat Commands
Section titled “Chat Commands”Chat commands are triggered when viewers enter specific text in chat.
By default, commands:
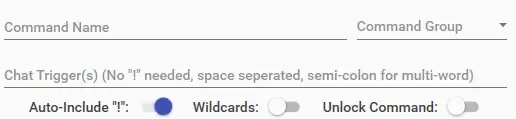
- Are single-word, case-insensitive, and start with
!. - Require defining a minimum user level for access.
- Need a cooldown period before they can be triggered again.
You can specify multiple chat triggers per command. If using multi-word triggers, separate them with a semicolon (;).
For example:
here is a trigger; here's another onesingle trigger;
Wildcard Support
Section titled “Wildcard Support”When enabled, a command triggers if its specified keyword appears anywhere in the message as a standalone word.
For example, setting what as a wildcard will trigger on:
"what is going on?""who what where""how in the what"
However, this will not trigger the command for messages where the chat trigger is inside of another word. (e.g., "abs" won't trigger for "absolutely").
Special Identifiers for Chat Commands:
Chat commands provide the following additional Special Identifiers.
$message– The entire message sent that triggered the command, including the command trigger itself.
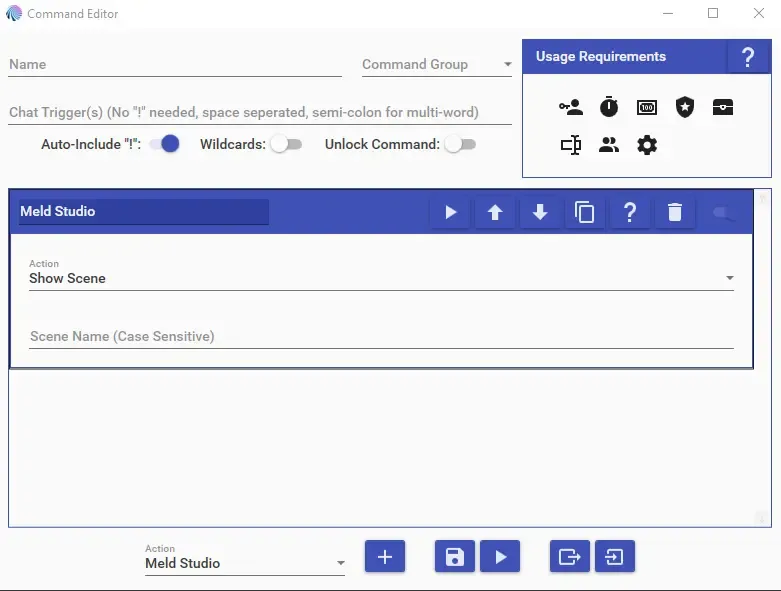
Show Scene
Section titled “Show Scene”Switch scenes using the Show Scene command.
- Enter the Scene Name (case-sensitive).
- Click ▶ to test the command and ensure it's set up correctly.
Show/Hide Layer
Section titled “Show/Hide Layer”Toggle the visibility of a layer within a selected scene.
- Enter the Scene Name (case-sensitive).
- Enter the Layer Name.
Use the Visible box to set the layer to:
- Visible
- Hidden
- Toggle between both
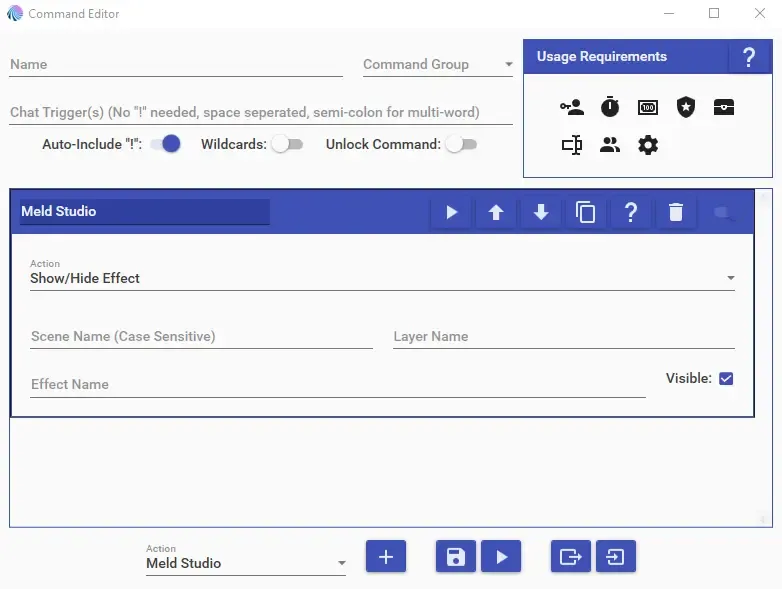
Show/Hide Effect
Section titled “Show/Hide Effect”Toggle effects on or off for a specific layer.
- Enter the Scene Name (case-sensitive).
- Enter the Layer Name.
- Enter the Effect Name (e.g., Gaussian Blur).
Use the Visible box to select the desired action:
- Checkmark: The effect will become visible.
- Blank Box: The effect will be inactive.
- Line: The command will toggle active/inactive.
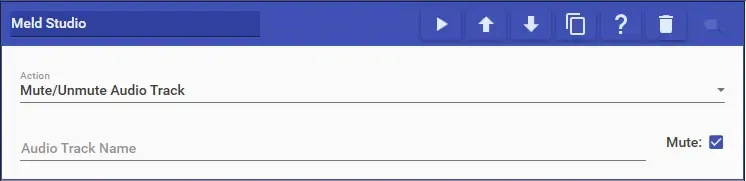
Mute/Unmute Audio Tracks
Section titled “Mute/Unmute Audio Tracks”Mute or unmute an Audio Track using its exact name.
- Enter the Audio Track Name.
- Click ▶ to test the command.
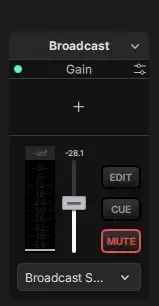
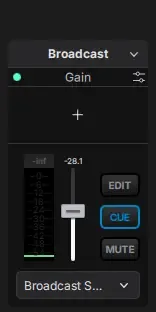
Monitor/Unmonitor Audio Track
Section titled “Monitor/Unmonitor Audio Track”This command can be used in relation to the CUE button on an audio track.
Enter the Audio Track Name exactly as it appears in Meld Studio.
Select the desired action:
- Enable Monitoring
- Disable Monitoring
- Toggle Monitoring
Click ▶ to test the command.
Screenshot
Section titled “Screenshot”Take a screenshot of the current scene and save it to a local destination.
Set the Screenshot Save Location:
- In Meld Studio, go to Settings → General.
- Under Screenshots, select your preferred save location.

Start/Stop Stream
Section titled “Start/Stop Stream”Interact with the box next to Stream to:
- Start Streaming
- Stop Streaming
- Toggle Start/Stop
Start/Stop Recording
Section titled “Start/Stop Recording”Interact with the box next to Record to:
- Start Recording
- Stop Recording
- Toggle Start/Stop