On this page
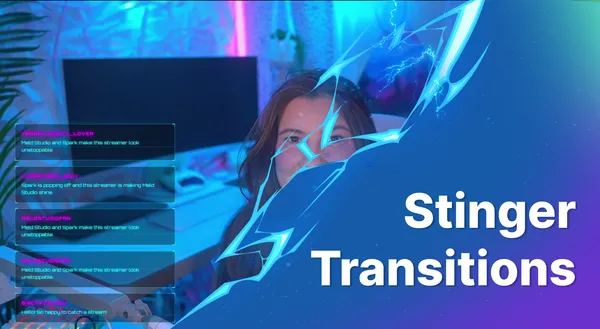
This is great news for every streamer who has ever wanted their scene changes to feel more custom. Stinger transitions are now live in Meld Studio, and setting them up takes less than a minute!
If you have watched your favorite streamers switch from a "Starting Soon" screen to their live gameplay with a flashy animated wipe, that is a stinger transition. Now you can add that same polish to your own stream, no third party software required.
What is a Stinger Transition?
For those who may not know, a stinger transition is a short video clip, usually one or two seconds long, that plays when you switch from one scene to another. Instead of a plain cut or a simple fade, your screen briefly fills with an animated graphic (often a logo whoosh, a burst of particles, or a stylized wipe) before revealing the new scene underneath.
Many streamers download free stinger packs online, while others hire designers to create a custom stinger that matches their logo and color scheme.
How to Set Up Stinger Transitions in Meld Studio
Setting up your stinger transition is simple. Here is exactly how to do it.
- Open Settings in Meld Studio, click on Settings.
- Navigate to Transitions from the settings menu, select Transitions.
- Choose Stinger inside the Transitions menu, click on Stinger.
- Browser for Your File click the Browse button. This is how you can locate the stinger transition file saved on your computer. Select the file and confirm.
- Let Meld Studio do the rest!
Once your file uploads, Meld Studio will adjust the Duration and Midpoint settings to match your video file as best as it can. You should always check that these settings are accurate before going live.
- Duration refers to how long the entire stinger clip plays before your new scene is fully visible.
- Midpoint refers to the exact moment in the clip where the transition "hits," which is typically when the old scene fully disappears and the new one begins to reveal itself.
Now switch scenes and watch it work! Your stinger transition is set up and ready for your next stream.
Give Your Stream a Professional Upgrade Today
Stinger transitions are one of those small details that make a big, impactful difference. They take your stream from feeling homemade to feeling produced, and now that the feature lives right inside Meld Studio, there is nothing stopping you from trying it out.
Head to Settings, then Transitions, then Stinger, upload your file, and watch your scene changes transform. Your viewers will notice the upgrade, even if they cannot quite put their finger on what changed.
Happy streaming!
FAQ
What is a stinger transition used for in streaming?
A stinger transition is used to create a smooth, animated scene change during a live stream. It replaces a plain cut with a short branded animation, making transitions between scenes look more professional.
How do I add a stinger transition in Meld Studio?
Go to Settings, then Transitions, then Stinger. Click the Browse button, select your stinger file from your computer, and Meld Studio will automatically set the Duration and Midpoint for you.
Can I use my own custom stinger transition file?
Yes! Meld Studio allows you to browse your computer and upload any compatible stinger transition file you already own or have created.
When does the stinger transition play?
Your stinger transition plays automatically every time you switch between scenes during your stream.
Is this feature free in Meld Studio?
Stinger transitions are a built-in feature of Meld Studio and adding your own transitions from file is free!