On this page
2025 is just getting started but we are coming in hot with a HUGE update! 🔥
OBS Importer
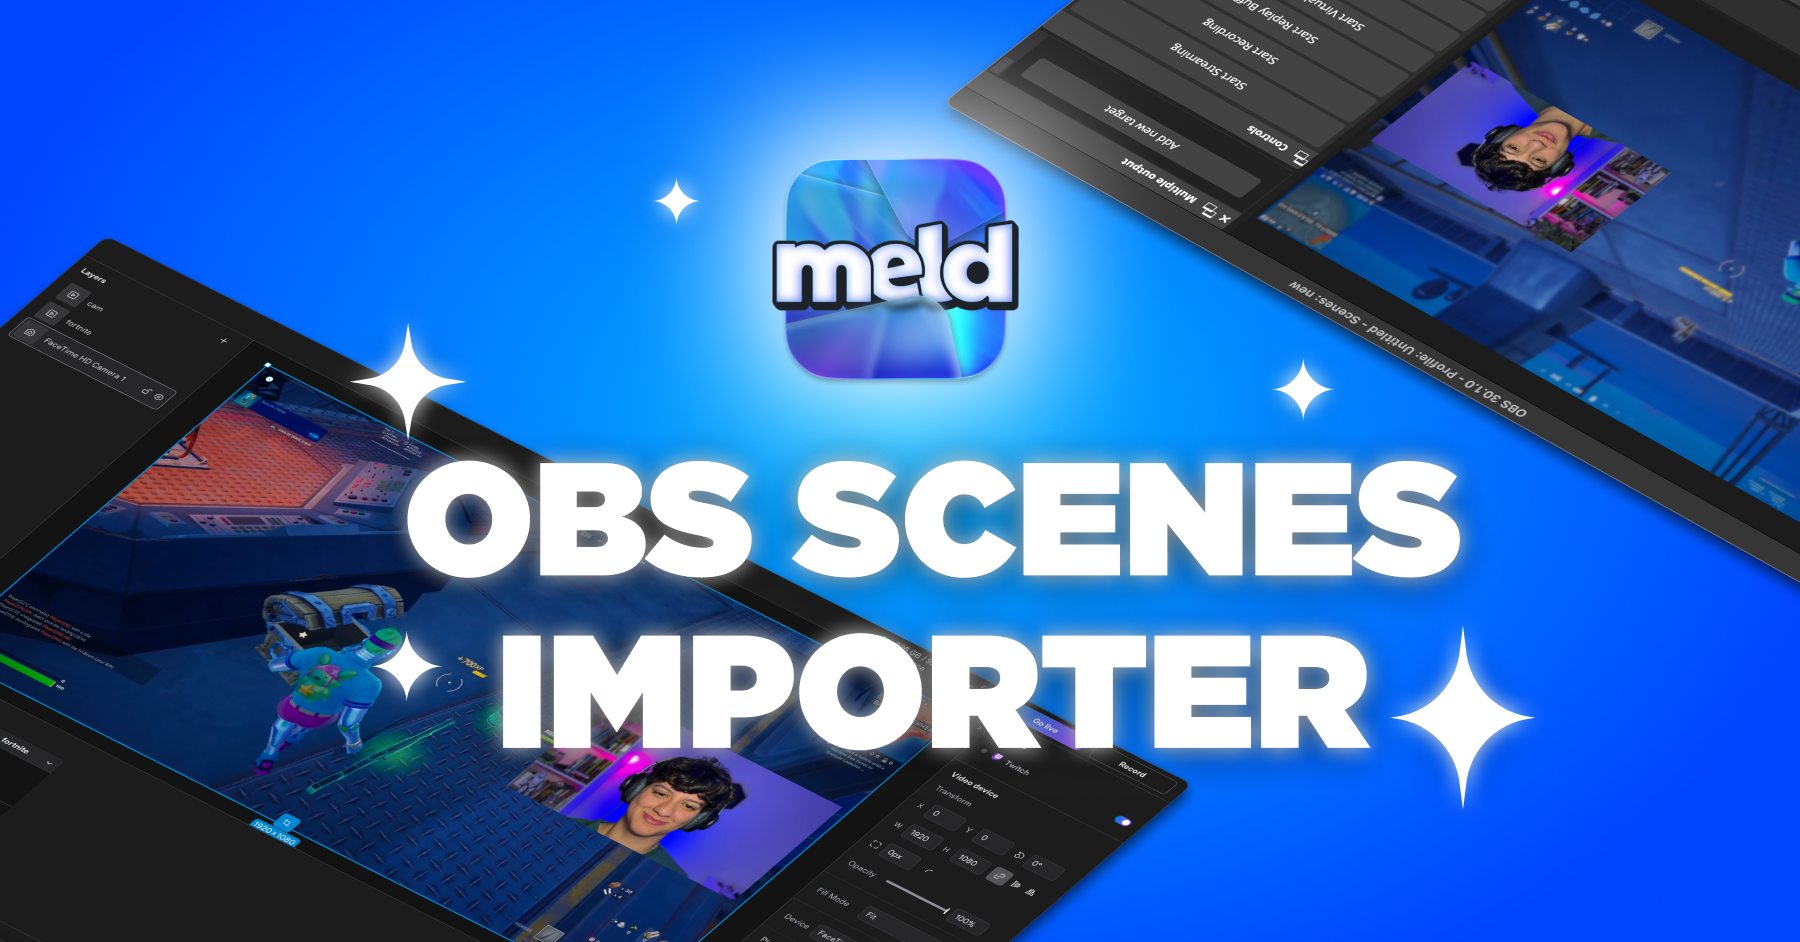
Creating new scenes in Meld is designed to be fast and user-friendly, but trying out new software can feel daunting. So, imagine if you could test-drive Meld—our creator-driven alternative to OBS—without any strings (or time commitments) attached. 😉
OBS Importer saves you setup time by pulling your existing OBS scenes and sources straight into Meld. That’s right—no more rebuilding scene by scene. Just import, make a few tweaks, and done—you’re ready to go live or record!
Just launch Meld Studio and go to File > Import OBS Session. There is no need to download your OBS Session, we will locate it and upload it for you automatically!
Nested Scene with Duplicator
We added support for duplicating an entire scene into another scene—no more copying layers one by one! It's Sceneception! (Please laugh I had to beg to keep this in) If you have ever had pixelation issues, rest assured they’re now a thing of the past. This update gave the Duplicator layer a complete overhaul under the hood, making it snappier and more reliable.
A scene nested in another scene like a snug little bug 🐛
Missing Resources Assistant
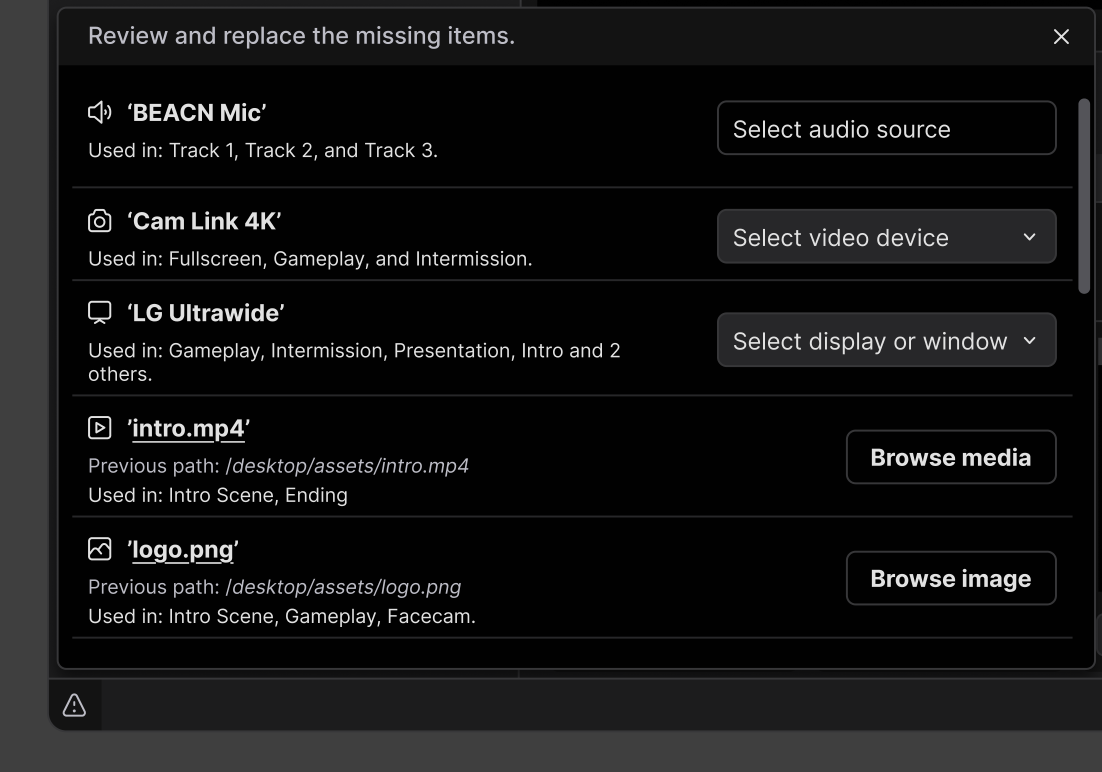
Say hello to your new Missing Resources Assistant! (And 👋 to the Session Doctor) The Missing Resources Assistant is a handy pop-up that walks you through locating and reconnecting any lost or disconnected sources, so you can get back on track without the guesswork. No more frantic hunts for missing assets—just a smoother workflow and boosted productivity.
When Meld detects missing sources, a warning icon will appear in the bottom-left corner of the software. Clicking on this icon opens the Missing Source Assistant Popup.
Encoder Quality Presets
If you need to go live and don't have the time to figure out the best encoding settings Meld now supports 7 quality presets for the NVidia hardware encoder and the X264 software encoder. The macOS hardware encoder currently does not provide quality presets. Learn more.
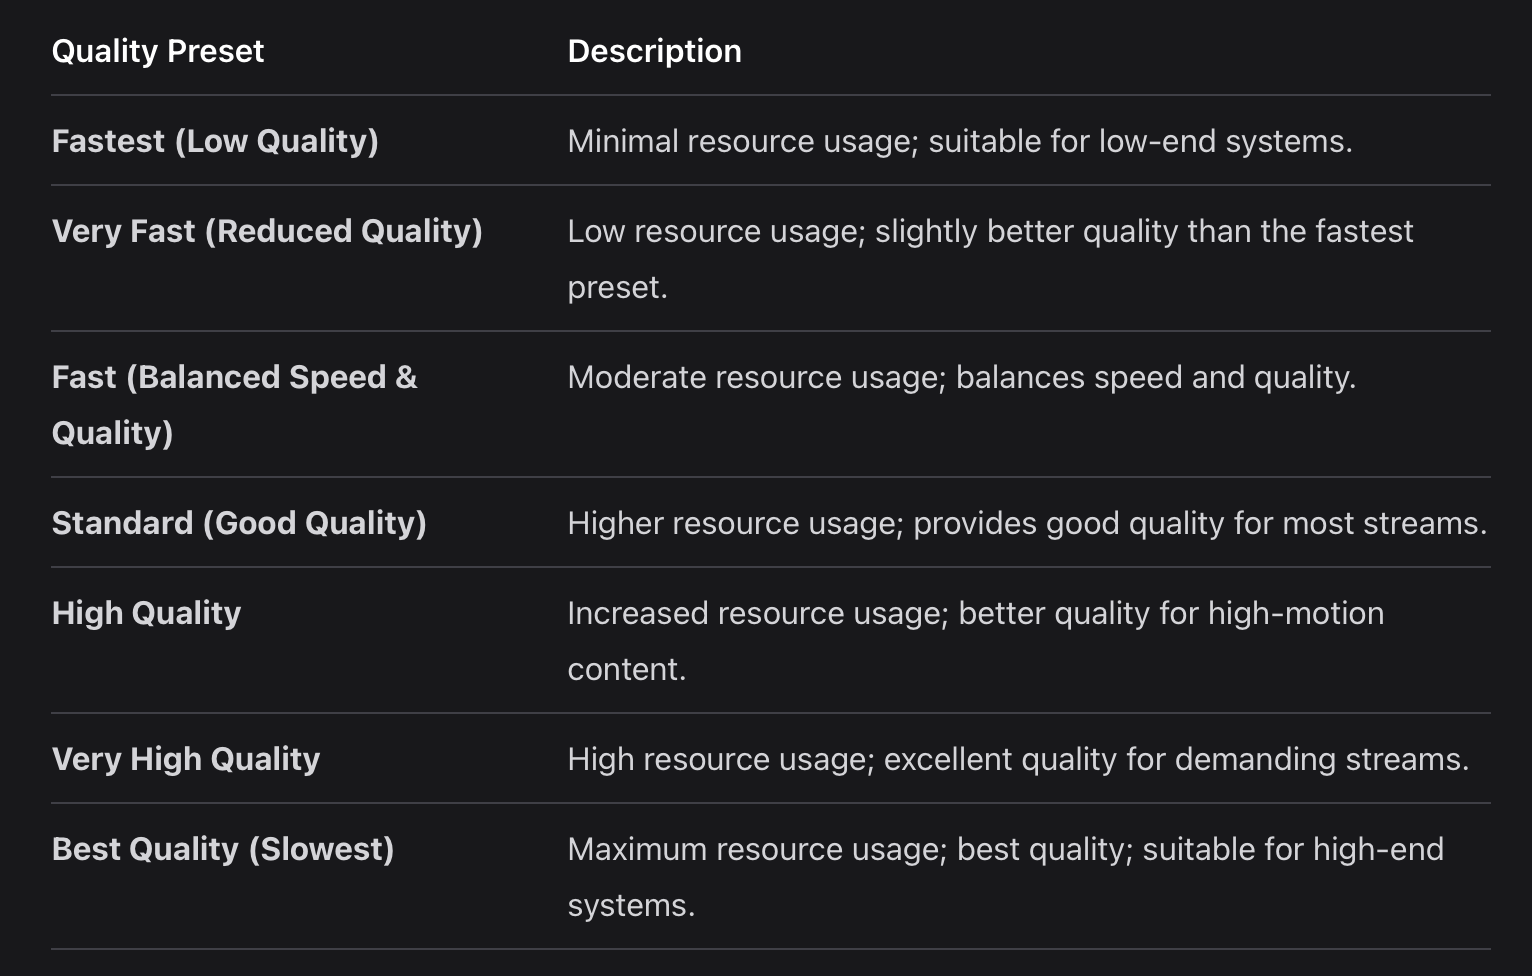
Setting Up The Encoder Quality Preset
Navigate to Preferences → General → Encoder Settings
Fill Mode
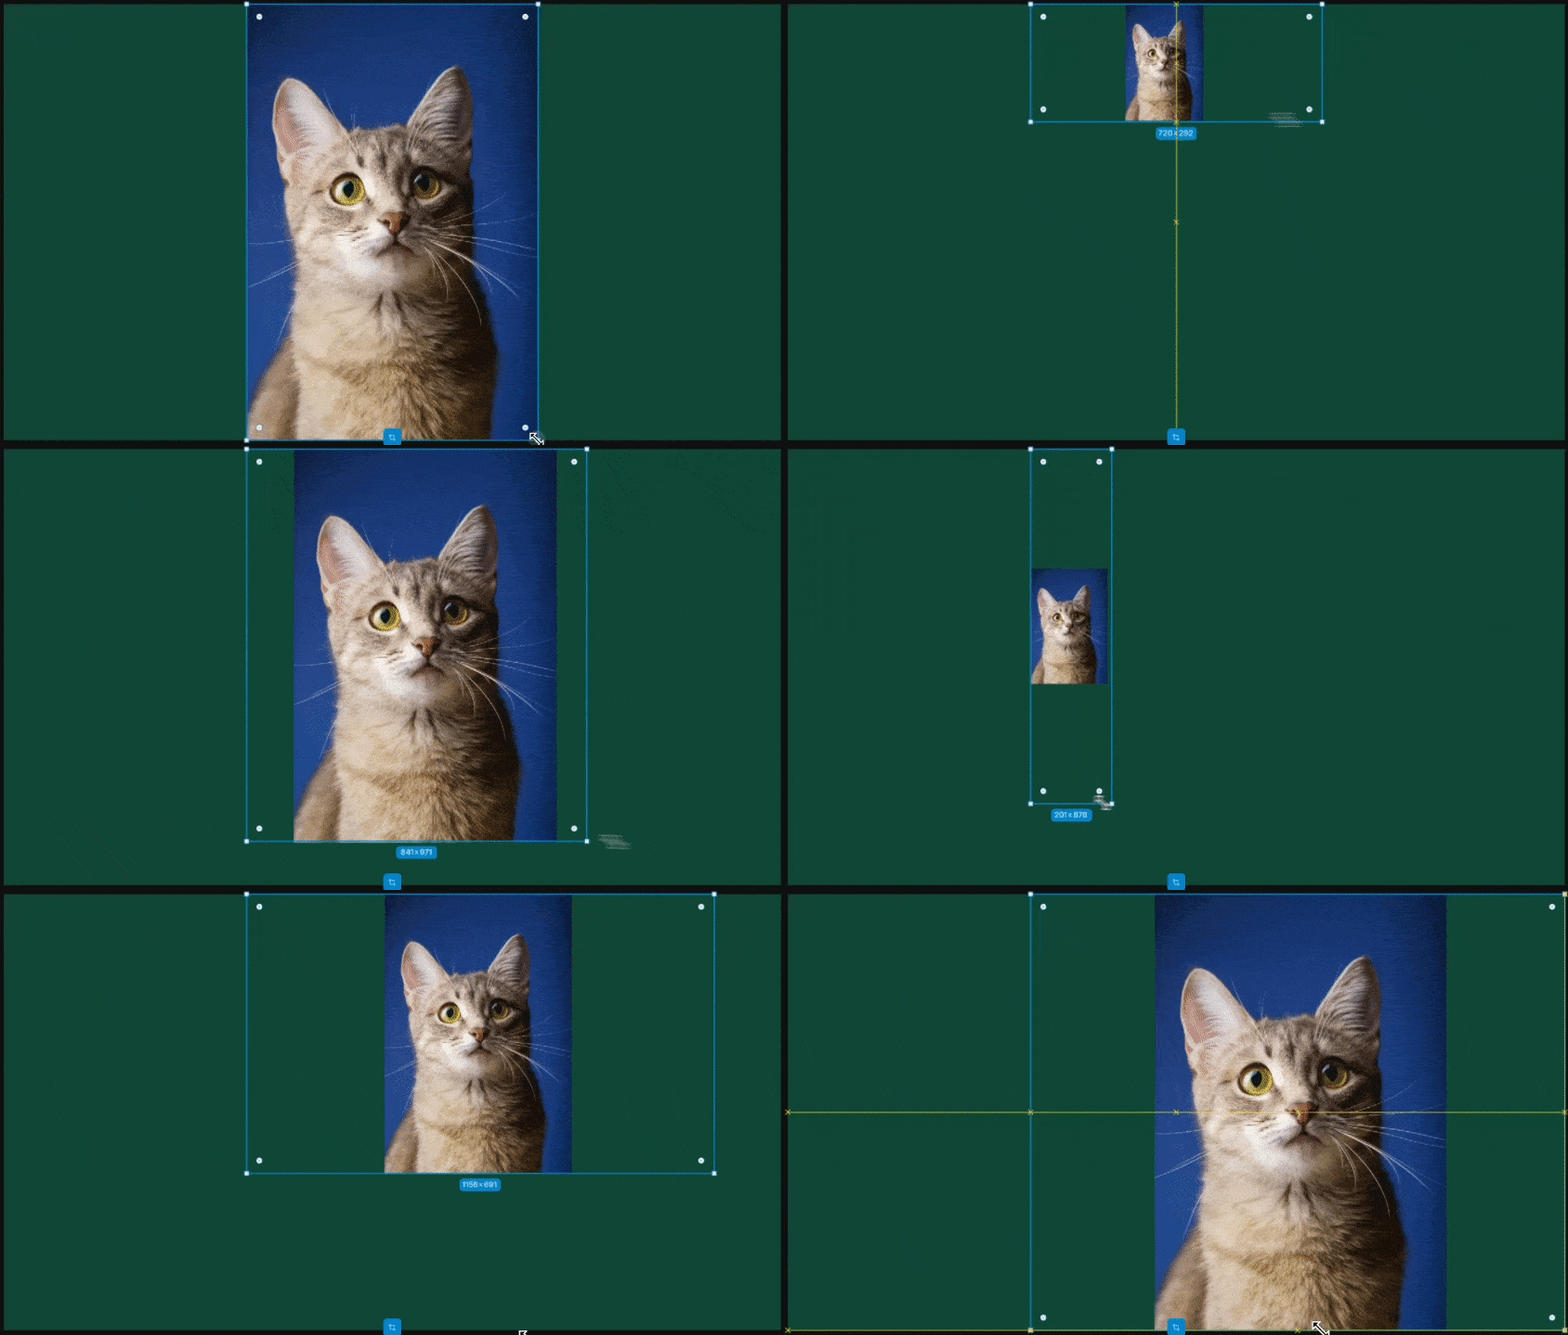
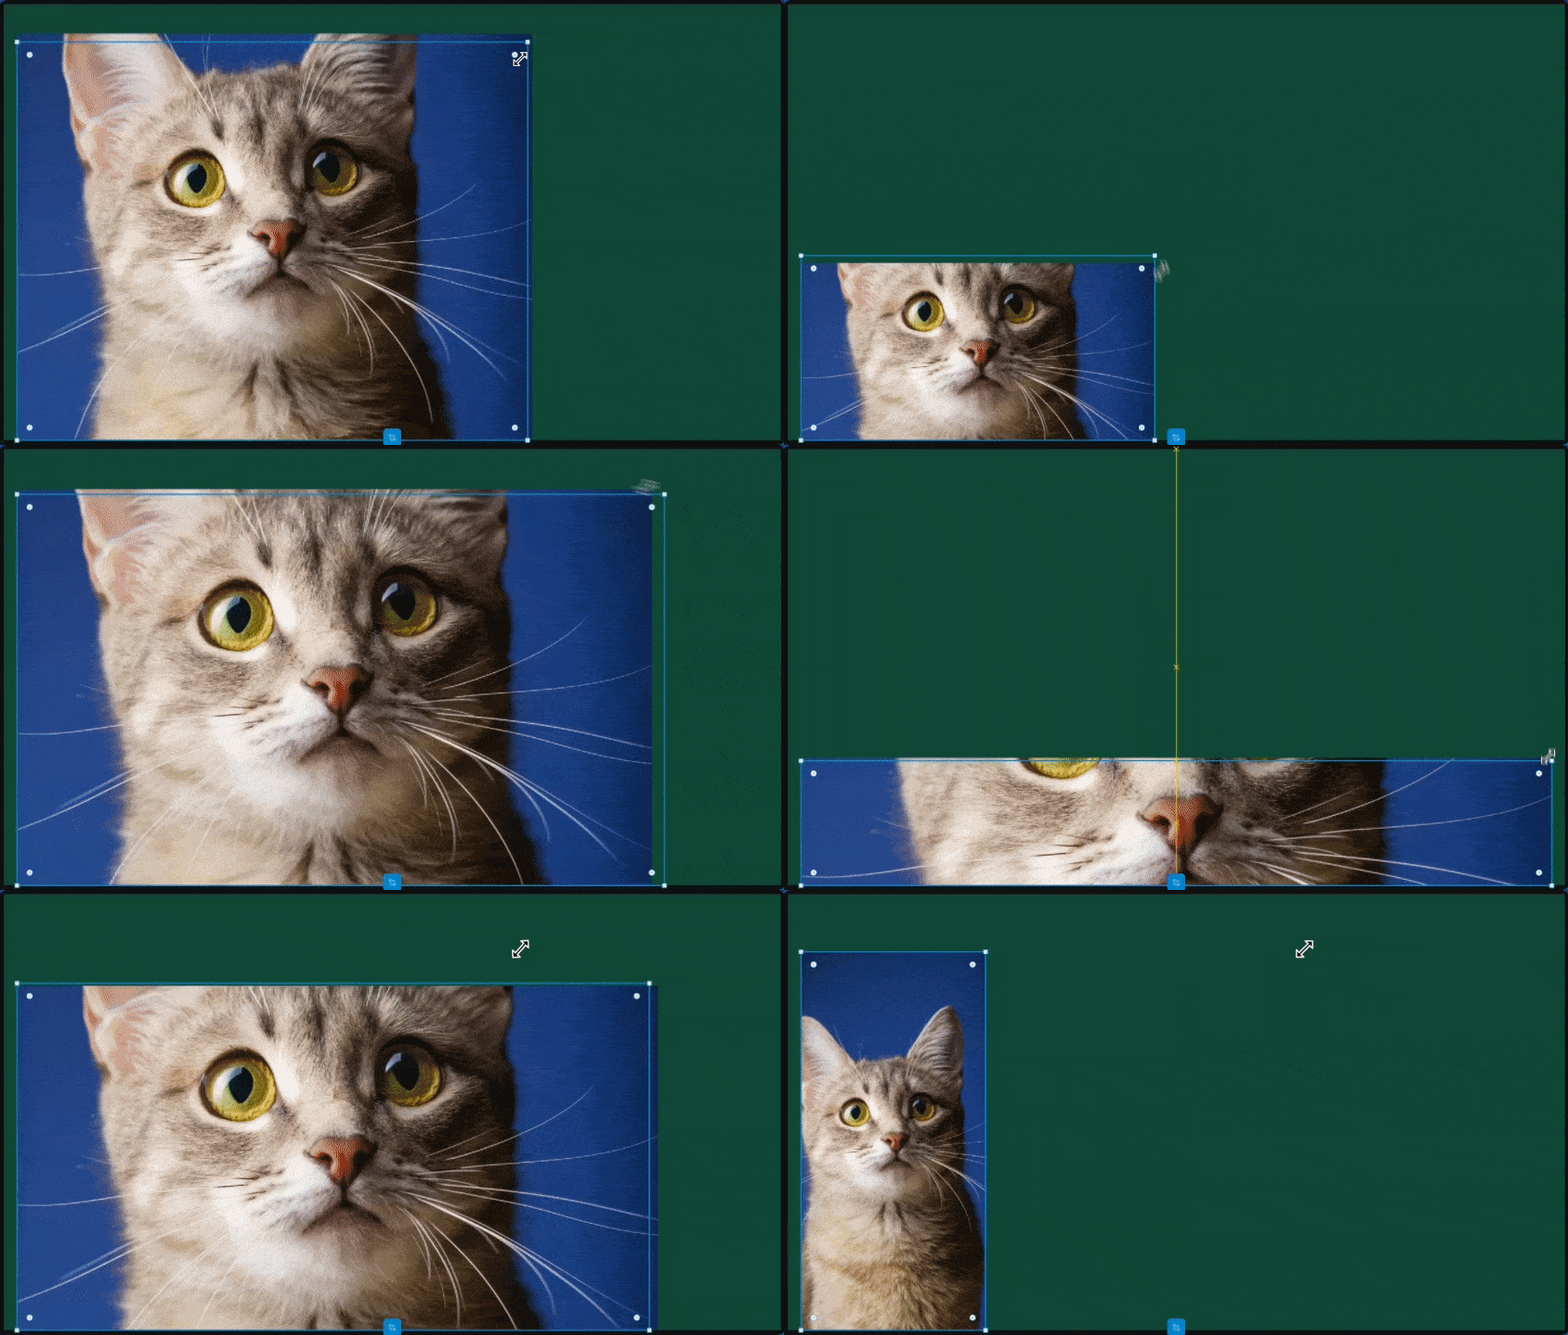
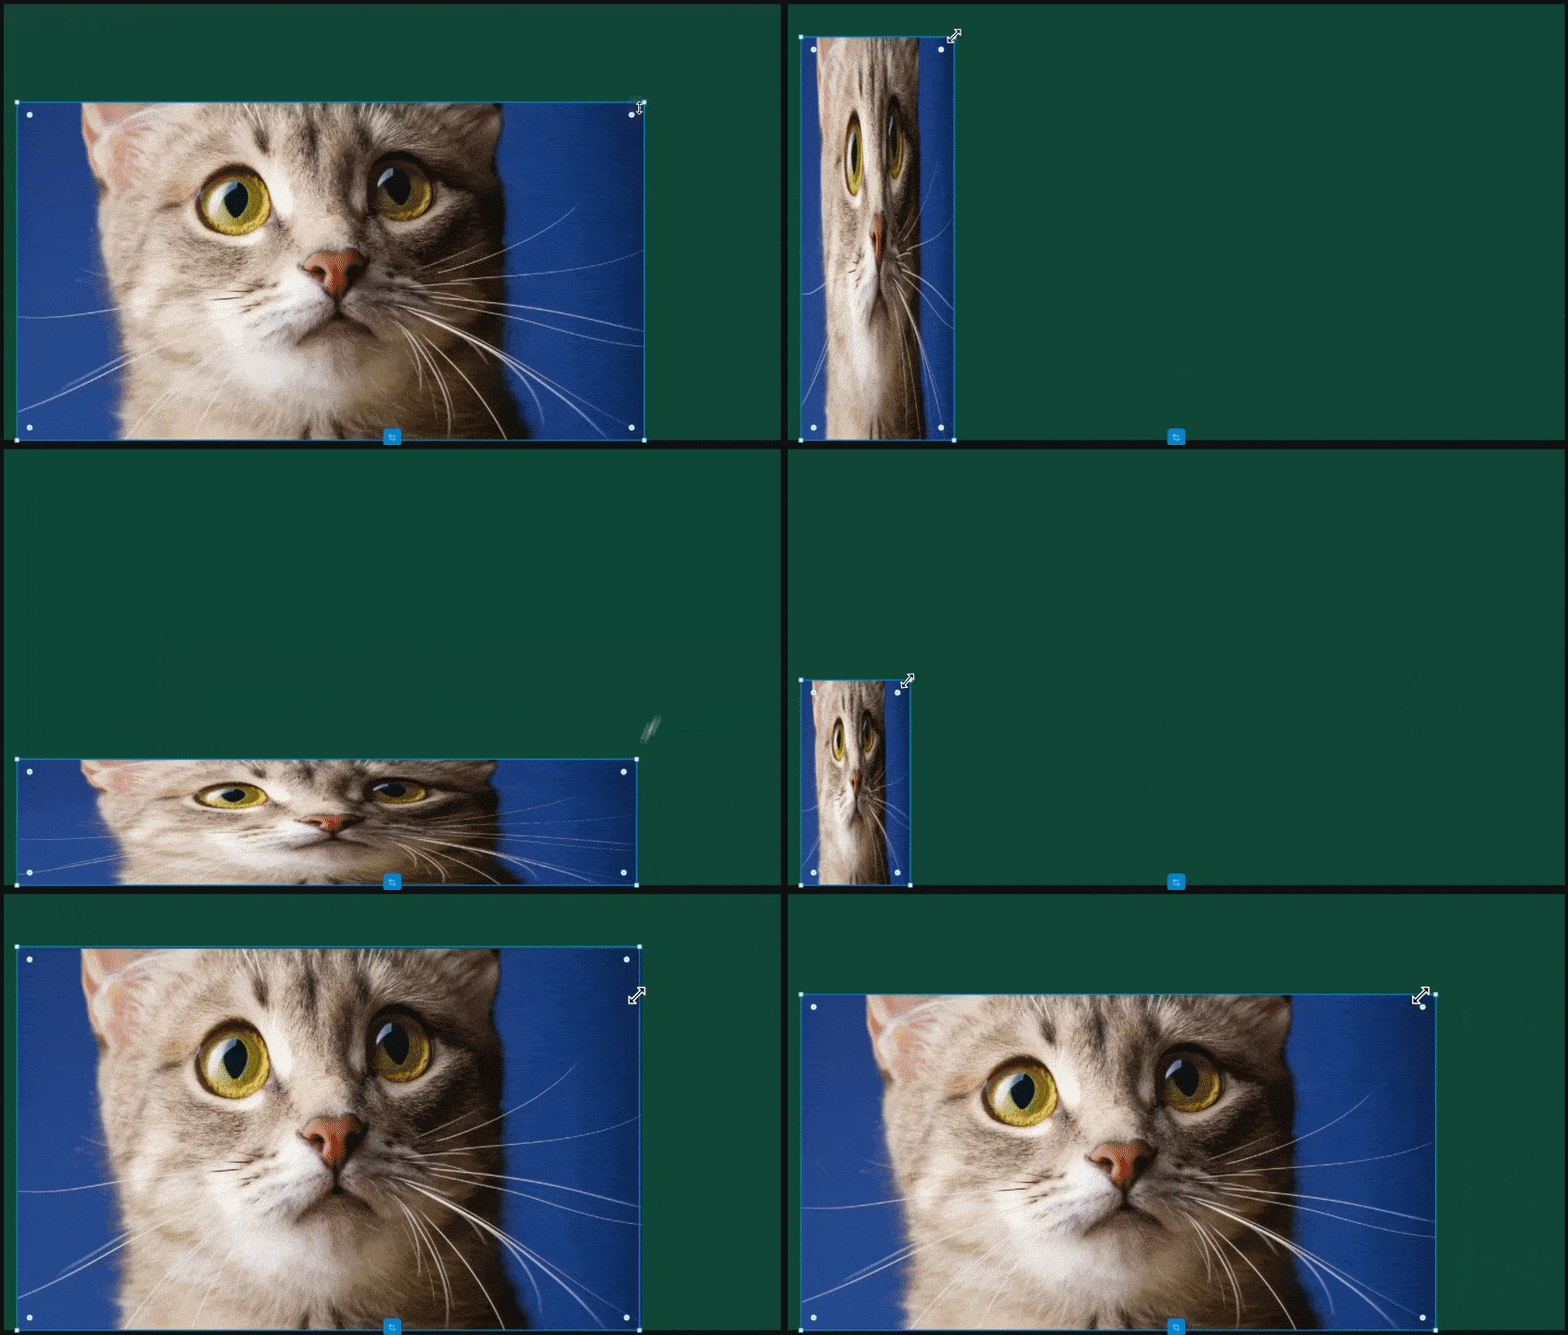
I tried to fit a whole pizza filled with toppings into my mouth but couldn't stretch it big enough.🍕 Meld now includes three Fill Modes: Fit, Fill, and Stretch, giving you control over how your content fits within a layer.
Fit
Scales the content to ensure the entire source is visible within the layer, maintaining its aspect ratio.
Fill
Scales the content to fully cover the layer, hiding parts if needed to remove empty spaces.
Stretch
Fills and resizes the layer to match the content’s dimensions, allowing aspect ratio distortion.
Copy and Paste a Browser URL
We are committed to making the experience of adding to your canvas as intuitive as possible, so all you need to do is copy and paste your browser links onto your canvas. We know what you're trying to do and we will add the Browser Source Layer for you. 🧠🤯
Copy and Paste the URL onto the canvas to create a Browser layer immediately.
Drag and Drop HTML files
No but actually you just drag and drop the HTML file onto the canvas, that's it.
Drag and Drop HTML files onto the canvas to create a Browser layer immediately.
Video Device Settings
We’ve heard your requests loud and clear: you can now tweak your camera settings in the camera layer’s property inspector! On Windows, just click the cog and pick your resolution and frame rate in the dialog pop-up. We’re planning to add even more configuration options in the future to customize your camera settings!
Opening the Video device settings dialog
Camera Properties (Windows)
With Windows's new Camera Settings view, you can now access the native camera settings dialog for your video devices as well.
The exact settings that are exposed depend on your particular camera model.
FPS Graphs for Capture Devices
Getting a drop in FPS but don't know what is causing it? We've made some big improvements to our video capture backend that affect both video and display capture layers, helping boost performance and reduce the chance of lag when you're playing resource-intensive games.
We’ve also added FPS graphs so you can keep an eye on how many frames per second your camera and display capture layers are actually producing. To check them out, go to View → Open Capture Device Stats and look for the option labeled “Show capture device FPS graphs in Inspector Panel” at the bottom. Once you toggle it on, you’ll be able to see a live FPS graph for each layer in the inspector panel.
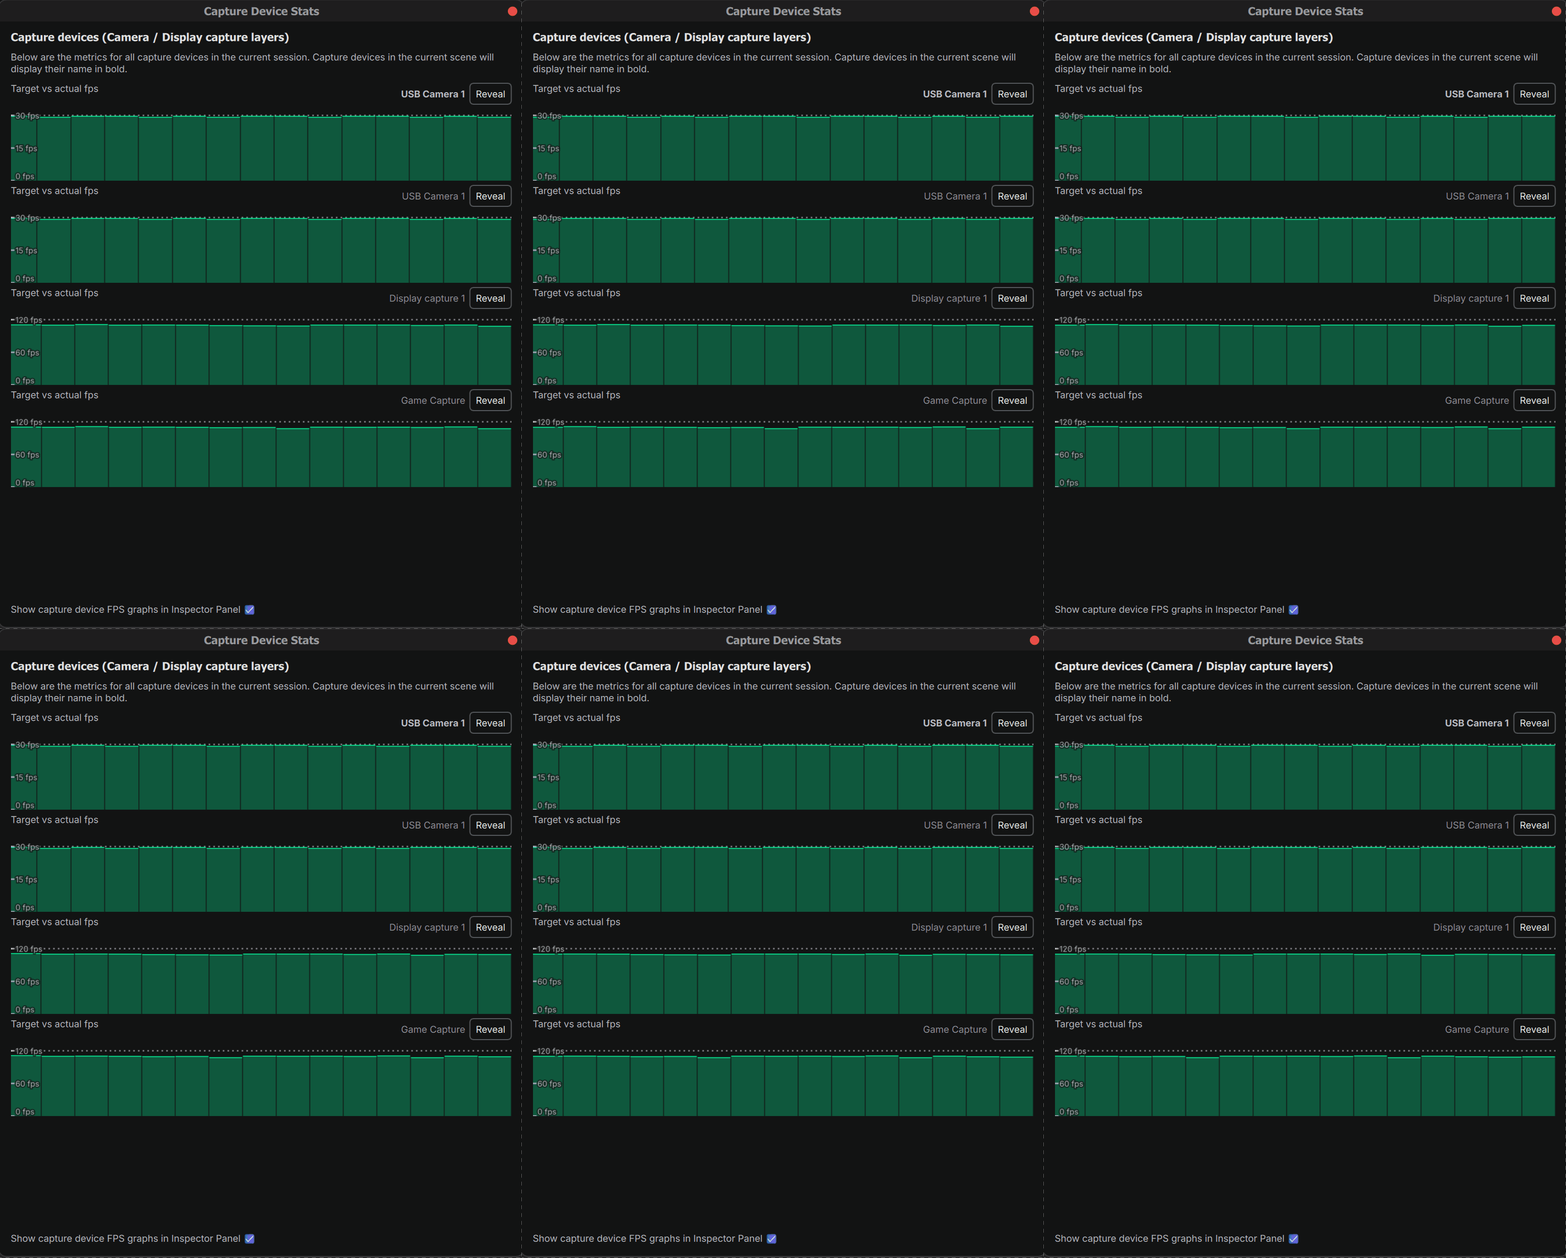
Capture Device Stats in Inspector Panel
By toggling on the "Show capture device FPS graphs in Inspector Panel" option at the bottom of the panel (disabled by default), Meld Studio will display the FPS graph for a layer in the Inspector Panel.
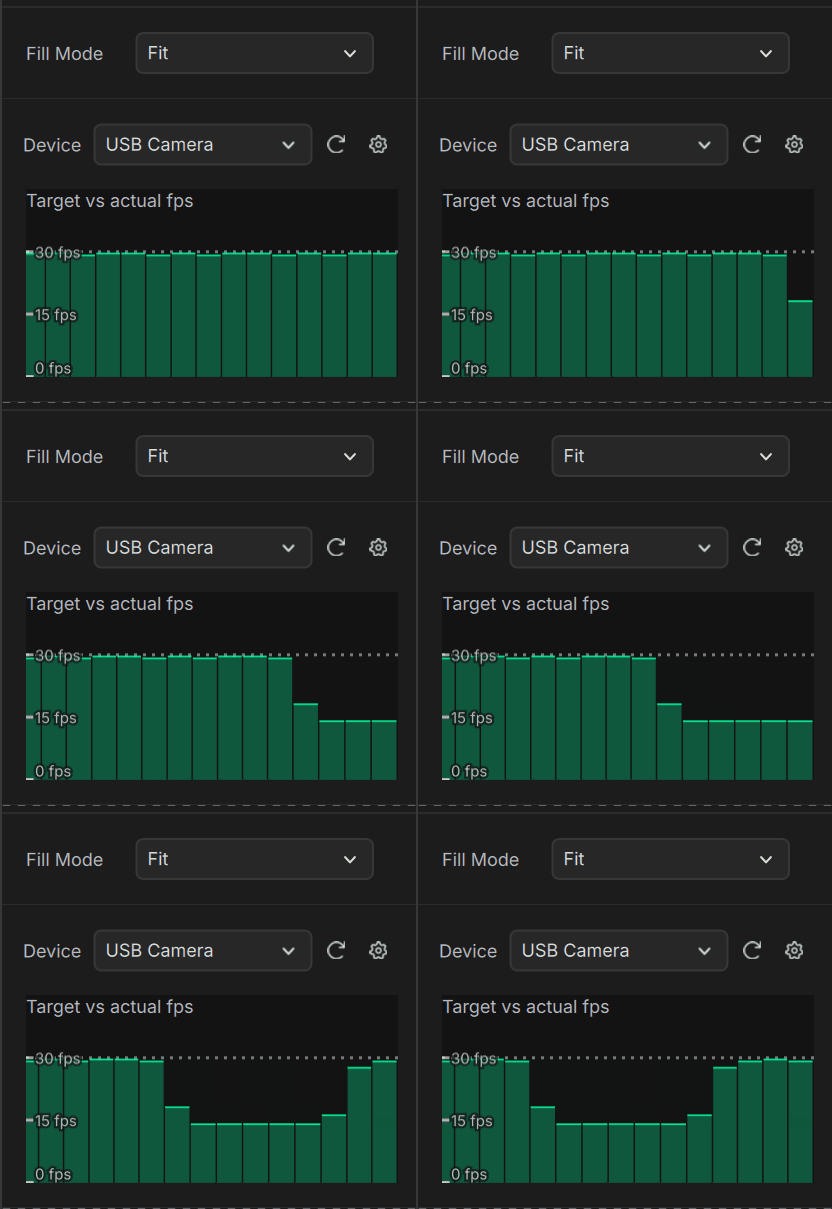
Enhancements
Color Selection
We’ve improved the color selection experience! Now, as soon as you click or tap outside the color picker, your current choice is automatically saved. This makes it quick and easy to finalize your colors—no extra steps needed.
Scale From Center
When resizing layers from the canvas, hold down the Option/Alt key to resize from the center.
We Can not wait to See You in Action
As always, we want to hear what you think! Snap a screenshot, share a clip, or tell us how Virtual Camera is leveling up your content on Reddit or in our Discord.
We've got more expert tips and tricks to level up your content game. Check out our latest blogs:
