On this page
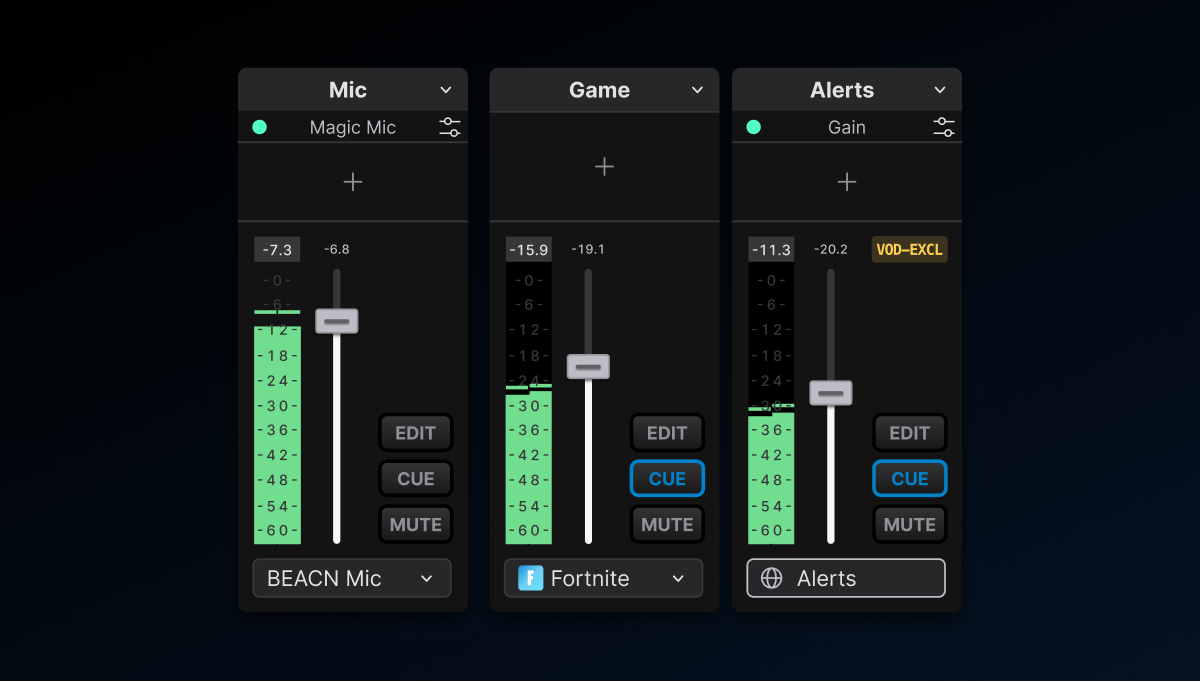
Microphone
- Navigate to the Audio Mixer.
- Click the ╋ icon to add an audio track.
- Click the dropdown menu at the bottom of the audio track to select your microphone.

Game Audio
- Select the Display capture layer.
- Navigate to the Inspector panel.
- Enable the Add an audio track for the source option to add the captured displays' audio to the Audio Mixer.
Or
- Navigate to the Audio Mixer.
- Click the ╋ icon to add an audio track.
- Click the Input Devices dropdown menu and change it to Output Devices.
- Select your Game or Desktop output source.
0:00
/0:11
Or
- Navigate to the Audio Mixer.
- Click the ╋ icon to add an audio track.
- Click the Input Devices dropdown menu and change it to Process Source.
- Search and select the audio source
0:00
/0:18
If you are gaming from a Console:
- Navigate to the Audio Mixer.
- Click the ╋ icon to add an audio track.
- Select your Capture Card as the audio input source.
- Toggle CUE in the audio track to monitor the audio.
Alerts Audio
Alert audio can be added via the Browser layer. Once you've added a Browser layer, you can follow the steps to add an audio track to the layer:
- Select the Browser layer.
- Navigate to the Inspector panel.
- Enable the option Add an audio track for the source under the URL text field.
- Find the audio track associated with the Browser layer in the Audio Mixer.
- Toggle CUE to monitor the playback of the Alerts’ audio; test and adjust audio levels in real time.